
When flying from London to San Francisco, I decided to spice up my journey with a 24-hour layover at Keflavík International Airport (KEF) in Iceland. It turned out to be the perfect pit stop to cross off a major bucket list item: the Blue Lagoon! Traveling solo, I kept it affordable, efficient, and it was SO rewarding!
Here’s how it all went down: I landed in Iceland at around 10 PM, with my next flight leaving at 6:30 PM the following day. With just enough time to make the most of my layover, I centered my layover around the blue lagoon, which is a geothermal natural spa. Visiting the Blue Lagoon before a long-haul flight back to the U.S. was an absolute game-changer. Not only was it a rejuvenating experience, but it also made the rest of my journey feel so much more relaxed.
If you’re thinking of doing a layover here, trust me—it’s easy to plan and totally worth it!

FLIGHT
Back when I made this trip in 2018, WOW Air was still around (rip, they ceased operations in march 2018 after financial struggles) Unfortunately, direct flights between Iceland and SFO aren’t a thing anymore, which is a total bummer. But don’t worry—if you’re planning a trip now, you can still get from SFO to Iceland in about 12-16 hours, depending on your connection. It might take a bit more planning, but trust me, Iceland’s magic is worth it!

STAY
With so many options to choose from, I went for the cheapest and closest spot to both the airport and the Blue Lagoon. Time was tight, and I needed a place to crash after my flight landed at around 10 PM. Here’s the wild part—since I visited in July, the sun never fully set! Iceland gets nearly 24 hours of daylight during the summer, which was surreal and gave my layover an extra touch of magic, but TG for blackout curtains.
I stayed at Start Hostel and booked a Single Bed in a 4-Bed Female Dormitory. Honestly, it was nothing fancy—just a quick, easy, and clean spot to crash for the night and freshen up the next day. This was peak Anne’s hostel era back in 2018! If I were doing this trip today, I’d probably splurge on a private room (because, let’s be real, priorities change) but it got the job done.
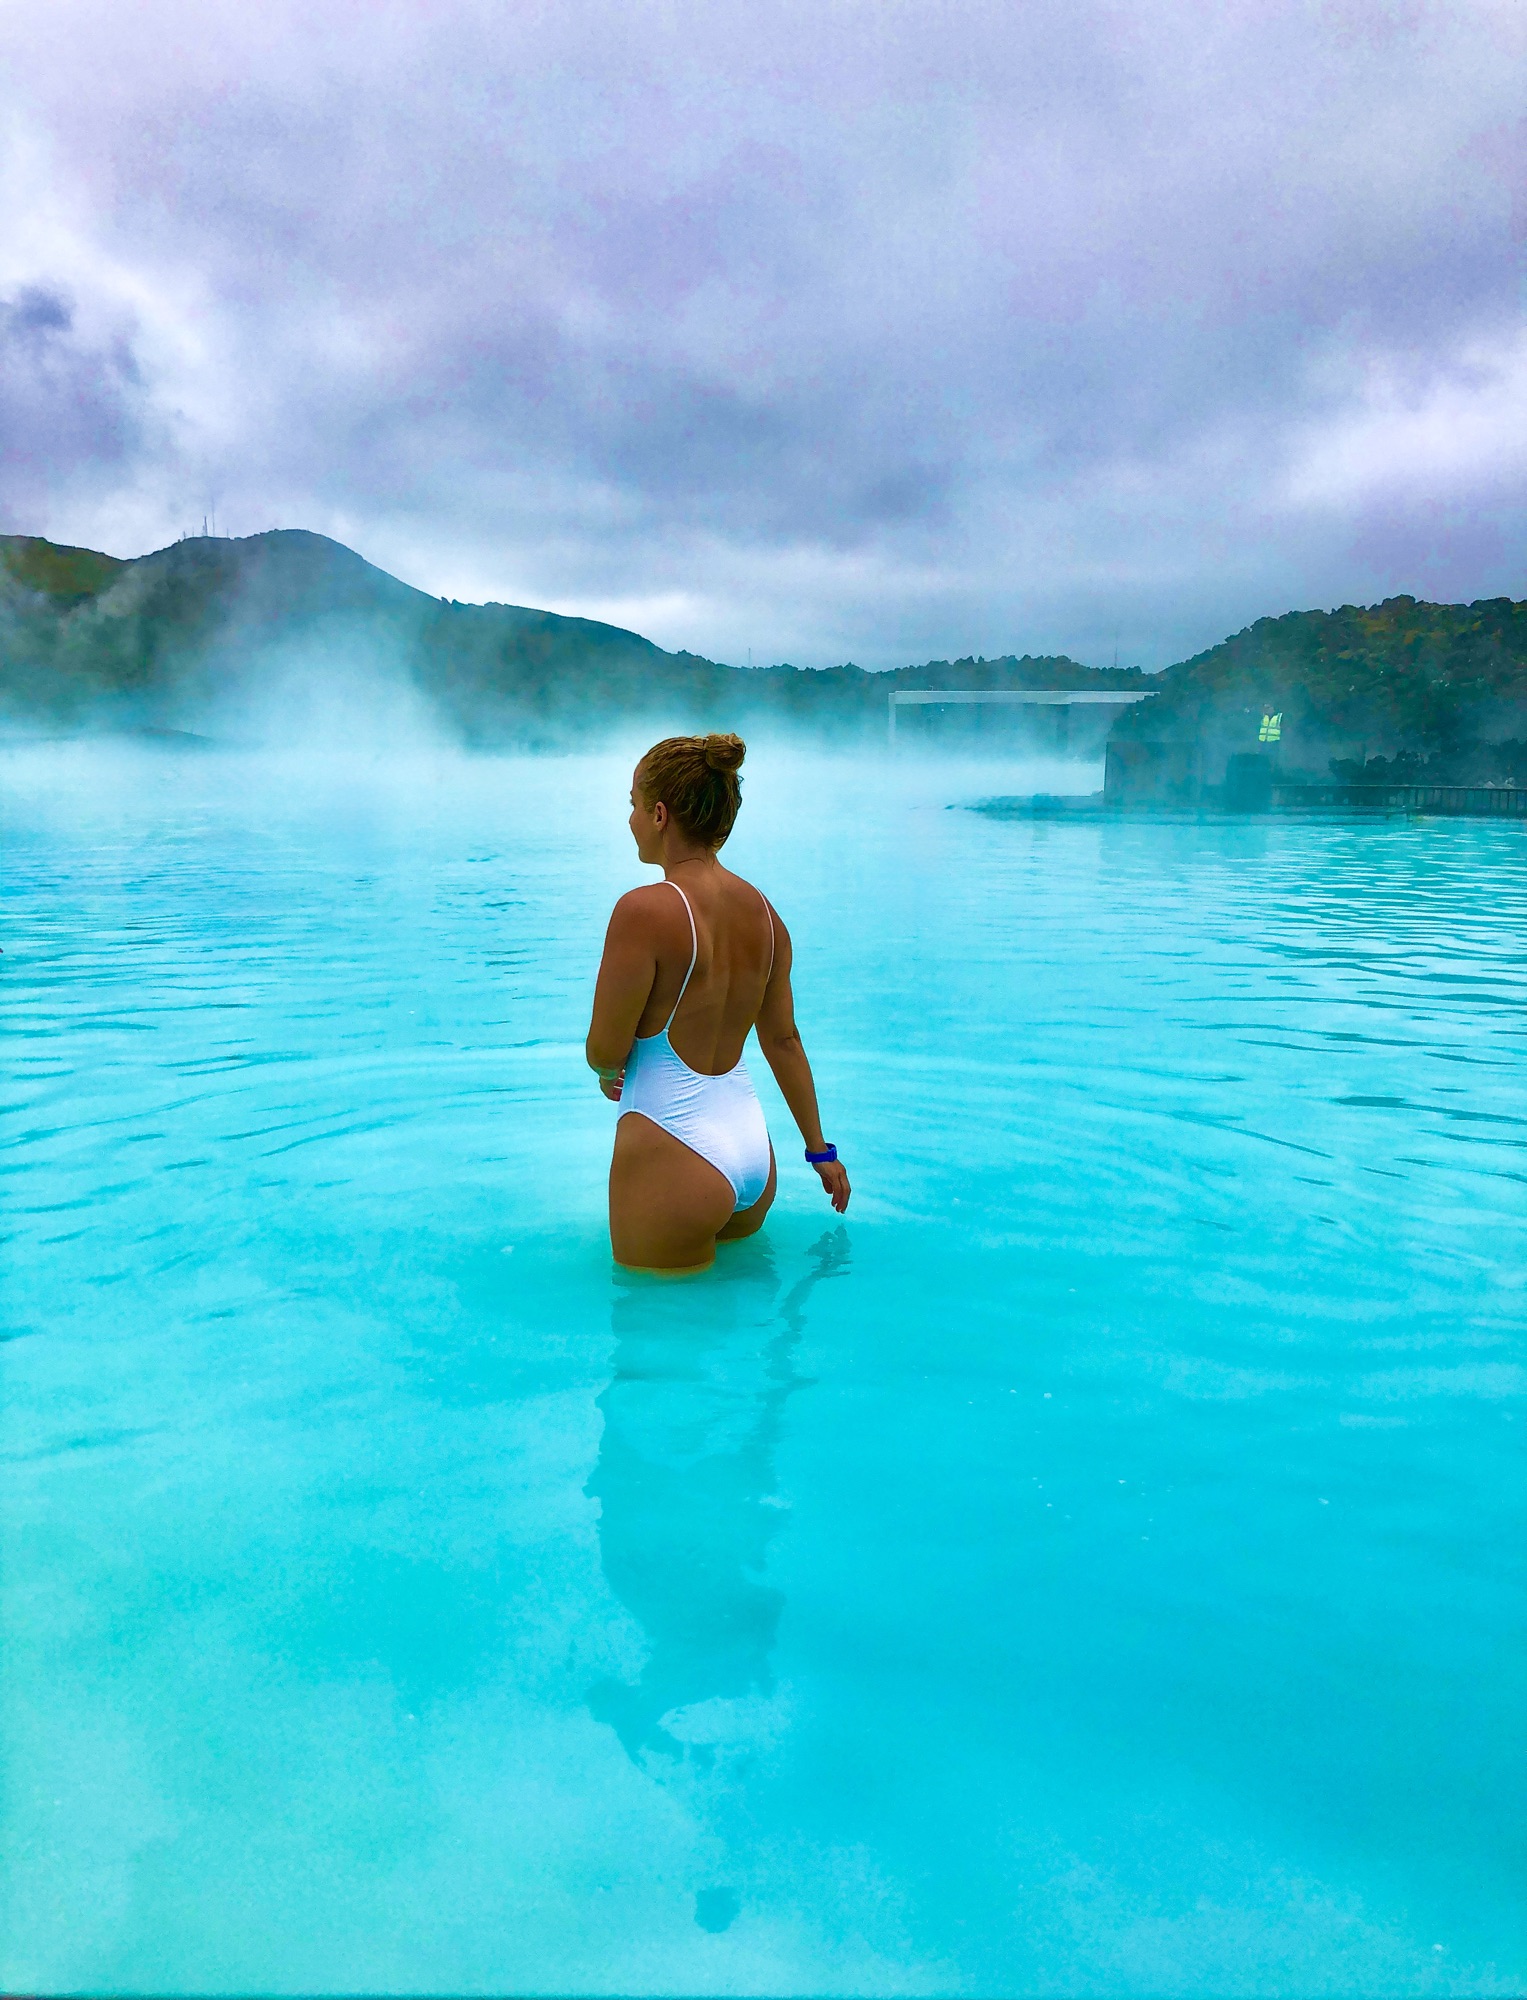
THE BLUE LAGOON – What to know before you go

Make sure to book your Blue Lagoon tickets in advance—and don’t forget to choose a specific time slot! I went with the earliest morning time, which turned out to be perfect since it felt less crowded. The Blue Lagoon offers three ticket options: Comfort, Premium, and Signature. I opted for the Premium package, which included some extra perks that made the experience even better. With premium you get:
-Access to the blue lagoon
-2 Silica mud masks at the mask bar
-use of towel
-2 drinks of choice at the in-water bar
-Use of the sauna, steam room, steam cave, massage waterfall
-Use of the indoor relaxation area with lounge chairs that overlook the lagoon
***Here’s the best tip I got before visiting: load your hair with a thick layer of conditioner! The silica in the water can leave your hair stiff, tangled, and super hard to manage if you don’t protect it. I’d read plenty of stories about people regretting not taking this step, so I coated my entire head with conditioner and only let my hair get wet at the very end. Bonus: conditioner is provided for free in all the showers, so no need to bring your own!

AFTER THE BLUE LAGOON

I spent some time unwinding in the indoor relaxation area—this is where the robes really came in handy to stay warm while lounging. It was so nice to take my time and soak in the experience. If you have the whole day to spend here, I’d recommend bringing a book. There are also a couple of restaurants on-site if you’re feeling hungry and want a bite to eat. After enjoying the amenities, I took a refreshing shower and wandered around the footpaths. Fun fact: there’s so much more to the Blue Lagoon than just the swimming area! Exploring the surrounding landscape really added to the experience.


It’s on my bucket list to travel to Iceland and do a full trip! Manifesting this for 2025 🙂
Subscribe & follow below <3


Leave a Reply